Snipping on the Mac is a useful function that allows users to precisely record specified areas of their screen. Mastering the skill of snipping can greatly increase your productivity, whether you’re creating lessons, sharing snippets of material, or saving vital details. In this detailed article, we’ll look at numerous approaches and tools available on macOS to help you with How To Snip On Mac and become a snipping expert.
Steps For Snipping Pictures Or Screen On Mac
1. Shortcuts to Take a Full Screenshot on Mac
To capture your entire screen on Mac, follow the steps:
Step 1. Keep pressing and holding the Shift key, the Command key, and the third key simultaneously.

Step 2. When you take a screenshot, click the little thumbnail preview that shows in the bottom-right corner of your screen to alter it.
Step 3. Alternatively, wait until the screenshot is saved on your desktop.
You can enable and disable this capability using the screenshot menu.
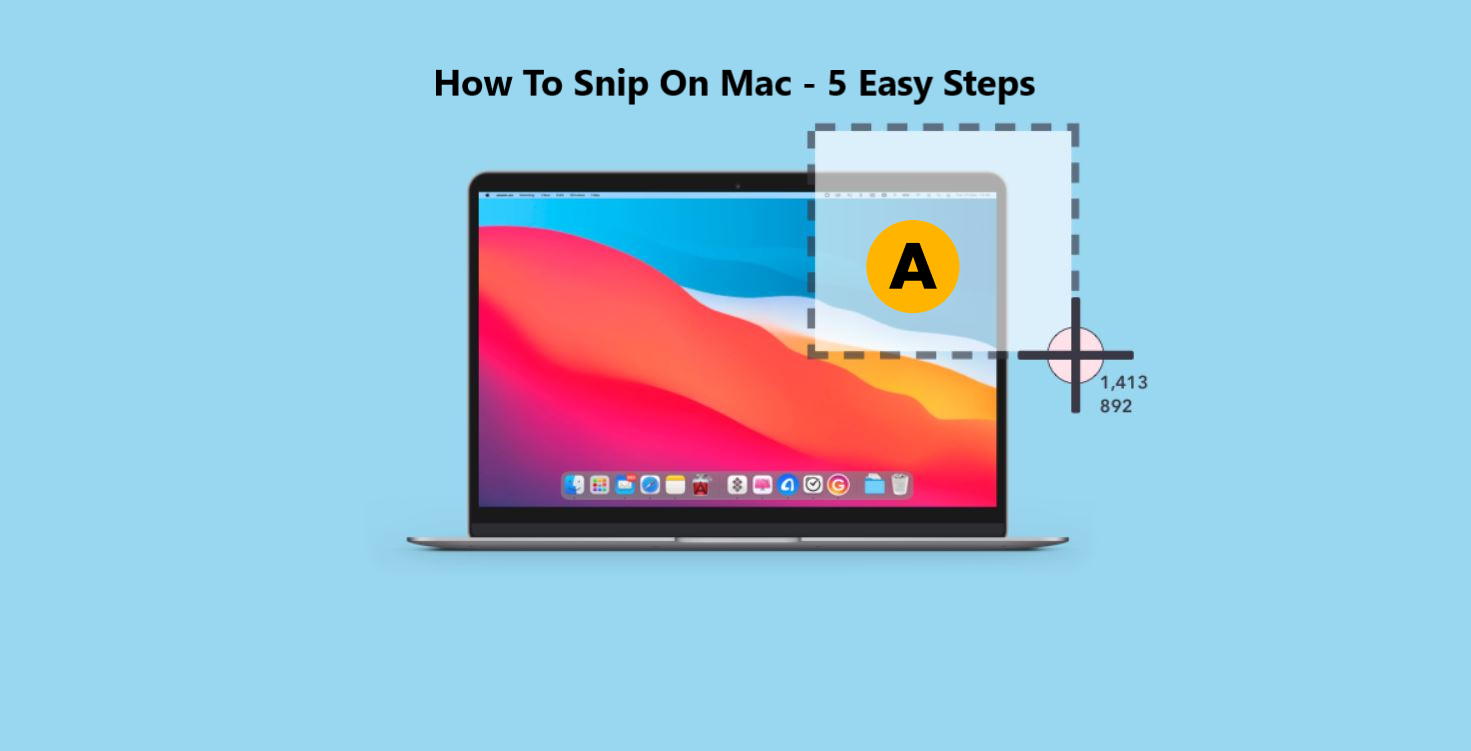
2. Capture A Part Of The Screen
The procedures are as follows:
Step 1. Simultaneously press the keys Shift + Command + 4.

Step 2. Launch ‘Snipping Tool‘.
Step 3. A crosshair will appear on the screen.
Step 4. Snip the specific portion on the screen by dragging your cursor.
Step 5. When snipping is finished, press the Esc key.
When using the snipping tool, the area of the screen that you capture will become darker. If you hold down the Space bar and drag the tool, you can move the darker area around. Additionally, you have the option to display your cursor in Mac screenshots.
If there is no dark region on the screen, you can use the trackpad or right-click with a mouse instead.
Also read: How To Check Which GPU Is In Your System – 6 Easy Steps
3. Capture The Entire Window
The Mac snipping tool includes a feature to record an entire window. When you press Shift + Command + 4 + Space simultaneously, the cursor transforms into a camera icon.
When you want to take a screenshot on your device, follow these steps:
- Press and hold the trackpad or mouse and drag the cursor to select the area you want to capture.

2. Release the trackpad or mouse, and a thumbnail will appear in the right corner.
3. You can either slide the thumbnail to the right using the trackpad to save it on your desktop or wait for a brief period of time for it to be automatically saved.
4. If you want to capture a specific window or menu, click on it.
5. If you don’t want the window’s shadow to be included in the screenshot, hold down the Option key while clicking.
6. To cancel taking the screenshot at any point, press the Esc key.
4. How To Access Mac Screenshot Menu
On a MacBook running macOS Mojave or later Version, press Shift + Command + 5 to open the Mac Snipping tool control panel at the bottom of the screen.

This tool allows you to capture screenshots, select a portion of your screen, and record screen recordings for instructional videos and lessons. Apple has also included several useful settings that can be adjusted to customize your workflow as required. Furthermore, you can change the default location for your screenshots by selecting “Other Locations” from the drop-down menu.

5. Cut an Image of the Touch Bar
If you own a Mac computer with a Touch Bar, you can use the keyboard shortcut Shift + Command + 6 to take a screenshot of your Touch Bar. This will allow you to display the screenshot to anyone you want. It’s important to note that not all Mac computers have Touch Bars, but for those that do, this feature is available.

Also read: Apple Vision Pro: Price, Release Date, And Everything You Should Know!
File Location Of Mac Screenshot
When you take a screenshot on your Mac computer, it will be automatically saved to your Desktop folder. This is done to make it easier for you to locate your screenshots. In order to find out where your saved screenshots are located, you can navigate to the “Desktop” area of Finder or look for thumbnail images on your desktop.
If you are unable to locate screenshots on your Mac, you can try two different approaches to locate them:
- After clicking the desktop, navigate to the Finder menu and select File > Find. Alternatively, press the keyboard shortcut Command + F. A Finder Search window will display for you.
- You may access the Spotlight feature by clicking the Spotlight icon in the Mac menu bar or pressing Command + Spacebar anywhere in macOS. The screenshots you’ve captured will appear immediately in Spotlight!
How to snip on Mac and paste? Check the answers on Twitter.
Final Wording
To access the major control panel of the Mac snipping tool, simply press Shift + Command + 5. You can also take a quick screenshot of your entire Mac screen by pressing Shift + Command + 3. If you only want to capture a specific area of your screen, press Shift + Command + 4 instead.
There are various snipping tools available, each with its own set of features. To choose the best one for your needs, consider the compatibility level and versatility of each tool. By comparing these factors, you can make an informed decision that will help you get the job done efficiently.
Continue reading………