Having trouble downloading a Windows update on your PC? These procedures will assist you in Troubleshoot Windows Update and purchasing the most recent products.
Keeping your Windows 11 PC up to date is critical for a number of reasons. Most notably, new updates provide security enhancements and fixes, and refusing to get them can expose you to significant security risks. Otherwise, upgrades can resolve other technical faults in Windows and add entirely new capabilities to already wonderful computers, giving you a reason to keep updating.
Unfortunately, Windows Update has a history of generating issues that make it difficult to receive updates. Fortunately, no problem is without a remedy, so if you find yourself unable to download a new Windows update, follow these steps in the blog for sure it will be helpful for your system.
Restart Your System
Did you restart your system?
Restarting your PC is the most basic and simple solutions to all types of computer problems, and it can be useful in a variety of situations. It won’t fix any more major problems, but your computer may have simply been operating for a long time and is becoming clogged with all the running programs and changes you’ve implemented. It’s also conceivable that some existing updates require a restart before you install new ones. Try resetting the computer and checking for updates to see if that helps. If not, we can consider more complex solutions.
Troubleshoot Windows Update Using Help App
A perfect solution for all times.
With the release of Windows 11, Microsoft has relocated a significant number of its troubleshooters to the newly introduced Get Help application. To run the Windows Update troubleshooter, follow these steps:
1. Open the Start menu and look for Get Help. Choose the first option.

2. Type “fix Windows update” into the search bar.
3. The program will request permission to launch the troubleshooter. Click Yes.

4. Please be patient while the troubleshooter is running. It should automatically check for updates again.
5. If you are still having problems, select Continue in the Get Help app to perform additional troubleshooting steps. It will automatically check for updates.

6. You may notice a popup asking if you are experiencing an error while installing updates. Choose Yes or No, depending on your situation, and then proceed with the troubleshooting steps as needed.
7. If you’re still having problems, the program will recommend a couple more adjustments, so follow the instructions until everything is operating properly.


Many of the processes listed in the Get Help app can also be completed manually, so we’ll look at some of these options below.
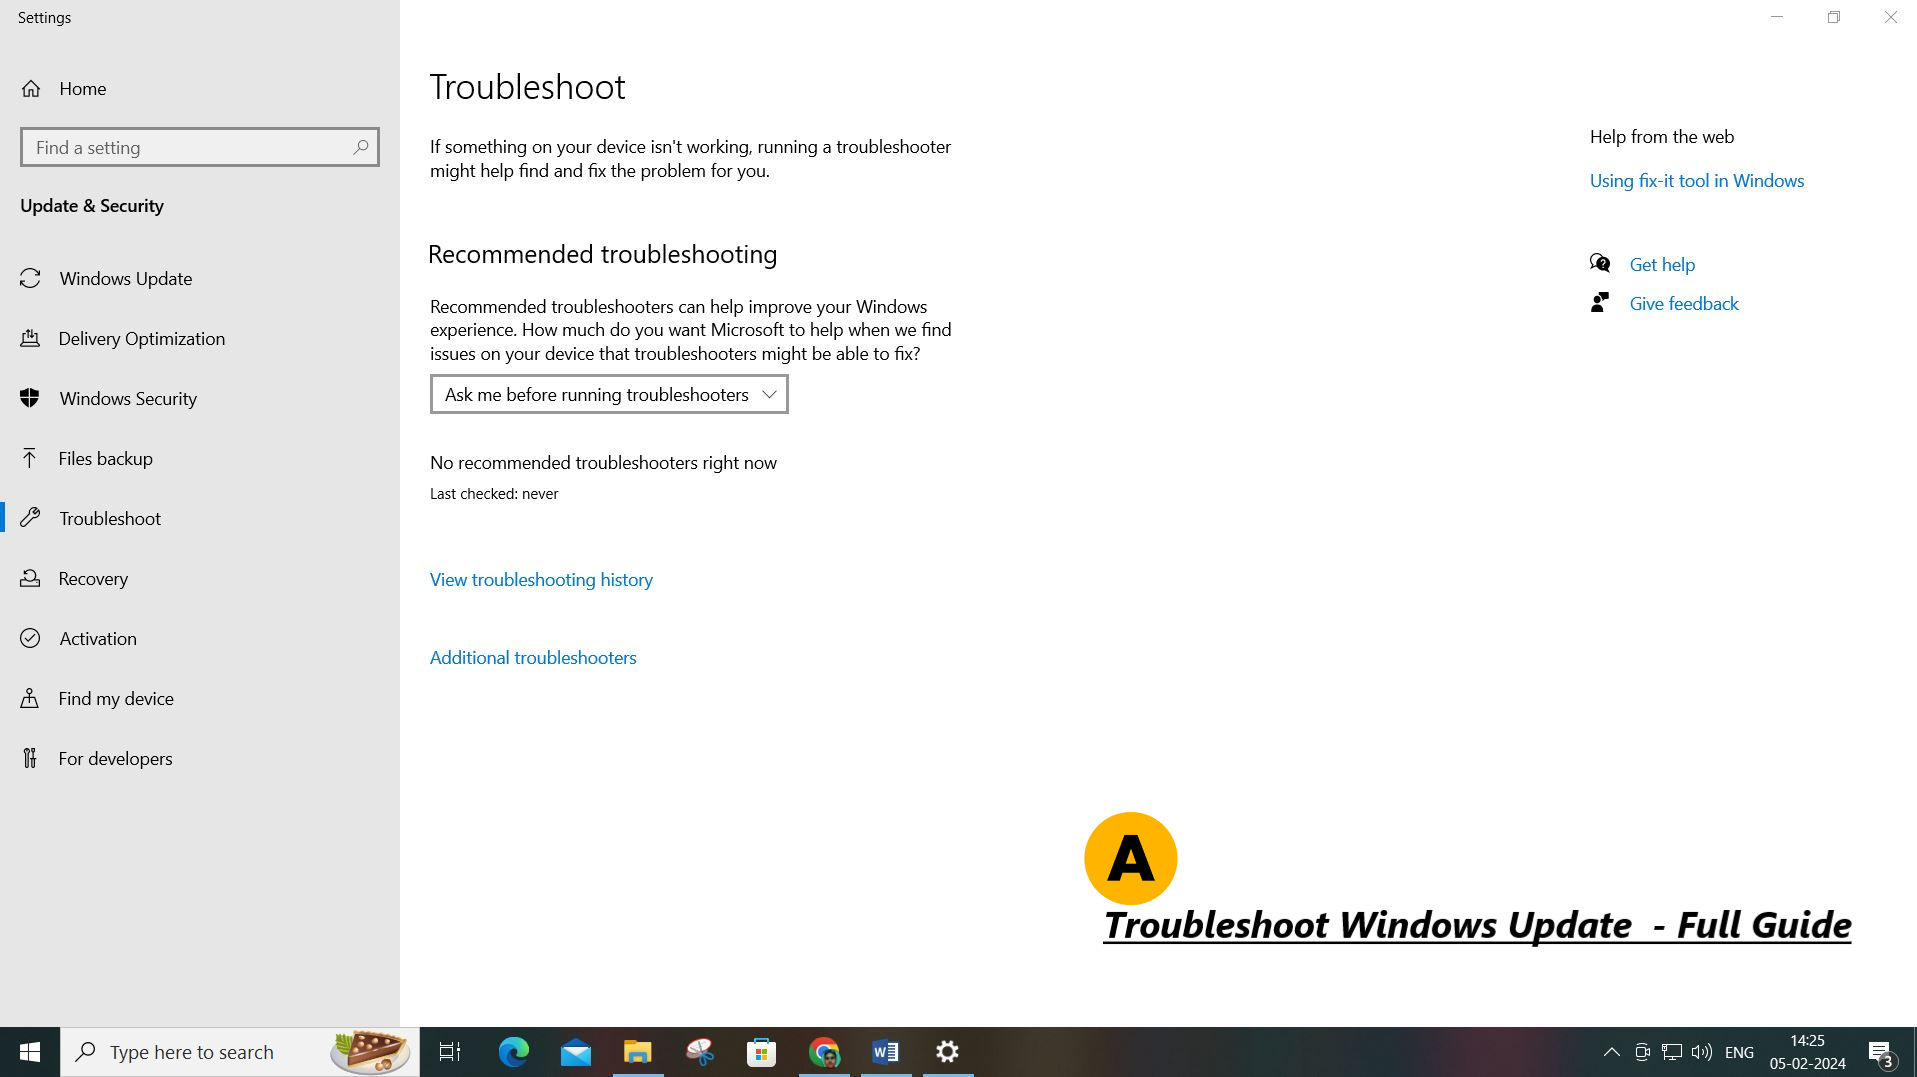
Use Windows Update Troubleshooter
An easy fix and faster.
Another option for Windows updates that are stuck downloading is to utilize the Windows Update troubleshooter, which is incorporated directly into Windows 11 (and other versions). To use the troubleshooter, perform these steps:
1. Access the Settings app from the Start menu.
2. Select System from the menu on the left side.

3. Click on “troubleshoot”.

4. Choose another troubleshooter.

5. Click “Run” next to update windows.

6. Wait for the troubleshooter to complete its tests and apply any applicable updates before clicking the Close option.

This will fix your Windows update bug, and keep checking for new updates.
Reset Windows Components
In some cases windows may be broken.
The Windows Update components can be reset, which is a relatively typical solution for difficulties with Windows Update. This includes restarting the update services and renaming a few system directories. Here’s what you should do:
1. Select Terminal (Admin) by pressing Windows + X or right-clicking the Start menu item.

2. Enter the four commands below in a row, pressing Enter on your keyboard after each one.
net stop wauserv
net stop cryptSvc
net stop bits
net stop msiserver

3. Run the following command to rename C:\Windows\SoftwareDistribution.
ren C:\Windows\SoftwareDistribution SoftwareDistribution.old

4. To rename the folder “C:\Windows\Catroot2“, use the following command.
ren C:\Windows\Catroot2 Catroot2.old
5. Enter the same commands, I am adding 4 commands down below you have to follow as same as they are written here.
net start wauserv
net start cryptSvc
net start bits
net start msiserver

6. Close the Command Prompt (Terminal) window.
Check for updates again. You should now be able to install them as normal.
Also Read: Windows Keyboard Shortcut Keys That Will Boost Your Productivity
Free Up Disk Space To Troubleshoot Windows Update
Delete unnecessary files.
If you’re having trouble downloading or installing updates, it could be because your hard disk is running out of space. here’s a brief summary of how you can do it.
1. Open up the Settings app.
2. Select System from the menu located on the left side of the screen.
3. Go for “Storage”.

4. To open the disk cleanup tool, select temporary files.

5. Click on Remove files after checking all the boxes except the Downloads folder.

6. Wait to end up the process.
This should free up a few gigabytes, allowing you to re-install updates. But, honestly, if you’re entirely out of space, now is an excellent moment to consider what you need and don’t need. Try removing any apps and manually going through your Downloads folder to check if there is anything you no longer need.
Fix The Corrupted Files And Scan All Others
Maybe Windows files are corrupted.
In more extreme circumstances, Windows Update may not be working due to corrupted files or other issues with Windows. In this scenario, you’ll need to address those concerns before attempting again. Let’s get started with the two main tasks at hand.
1. To access the Terminal (Admin) or its equivalent on Windows, press Windows + X on your keyboard (or right-click the Start menu icon, whichever applies to your Windows version).
2. Search for PC faults with the following command, pressing Enter to confirm.
DISM.exe /Online /Cleanup-image /Scanhealth

3. Allow time for the scan to complete.
4. Once it’s finished, run this command to look for corrupted system files:
sfc /scannow

5. Once more, this will take some time, so wait for the proof to finish.
6. After finishing up both diagnostic tools, make sure to check for updates once again to test their functionality.
Once both diagnostic tools have been completed, check for updates again and see if they function.
Restore Your System To Troubleshoot Windows Update
It helps to eliminate errors while updating Windows.
Changes we make to our PC can sometimes cause things to stop working, so one option is to utilize the System Restore tool to restore your PC to a prior configuration. System Restore points are automatically created during important occurrences, so you should be able to return to a former condition. However, keep in mind that you will lose any programs you have installed since the restoration point you chose.
Follow the mentioned steps down below:
1. You can establish a restore point by opening the Start menu, searching for it, and selecting the first option that appears.

2. Click System Restore in the window that displays.

3. Select “next”.
4. Choose a restoration point to return to. If you observe a precise day when things started going incorrectly, you might want to start there.

5. Click Next.
6. Click Finish to start recovering your PC.
Wait for the process to finish before attempting to check for updates again.
Conclusion
In conclusion, navigating the complex setting for Windows Update troubleshooting necessitates a methodical approach and a thorough awareness of potential difficulties. This comprehensive article aims to empower users by giving a step-by-step roadmap for overcoming typical Windows Update problems. From resolving network issues to dealing with update errors, each step was designed to simplify the troubleshooting process.
Continue Reading………..