Gimkit Creative offers educators and students an exciting way to create interactive learning experiences. Hosting and setting up a map in Gimkit Creative is not just about managing a game, but also customizing unique experiences that engage participants. In this guide, we’ll walk you through the steps to get started and make your session fun and effective.
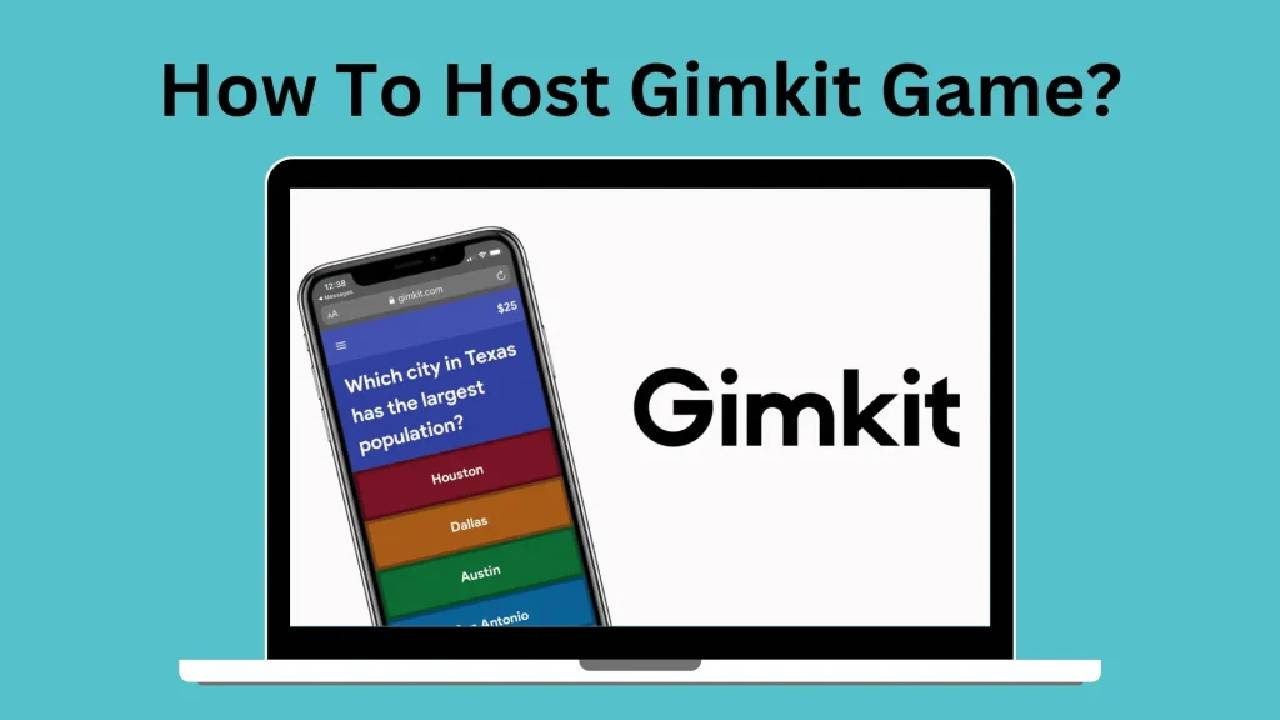
What is Gimkit Creative?
Gimkit Creative is a feature within the Gimkit platform where you can design and manage custom maps, enhancing learning through a game-based environment. Whether you’re a teacher trying to reinforce lessons or a student looking to test your knowledge in a creative way, Gimkit makes it easy to tailor the experience to your needs.
Steps to Host & Set Up a Map in Gimkit Creative
Here’s a quick tutorial on how to set up a map and host your session:
1. Log in to Your Gimkit Account
Start by heading to Gimkit and clicking the Gimkit login button. You’ll need an account to access Gimkit Creative. If you don’t have one yet, it’s easy to create by following the prompts on the login page.
2. Access Gimkit Creative
After logging in, go to the Gimkit Creative section. Here you can design your own maps for educational gameplay. You can create a new map from scratch or customize an existing one.
3. Set Up Your Map
When you decide to create a new map, Gimkit Creative offers a variety of tools to help you build the map according to your preferences. You can add elements such as buildings, landscapes, and challenges that align with your lesson objectives. For instance, you can create quizzes within different areas of your map, enabling players to unlock new sections as they answer questions correctly.
4. Invite Players to Join Your Game

To host a game, you’ll need to generate a unique Gimkit code that players can use to join. Here’s how:
- Once your map is ready, click on the Host button at the top of the page.
- A game code will appear. Share this Gimkit join code with your participants so they can enter the game.
- Players will input this code on the join page to participate in your map session.
5. Starting Your Hosted Game

After participants have entered the Gimkit join code, you are ready to start hosting. Simply click the Start button, and the game will begin. As the host, you will have control over pacing, and you can monitor players’ progress in real-time.
Customization Tips for Engaging Maps

When setting up a map in Gimkit join Creative, remember that customization is key to engagement. Here are a few tips:
- Add different question sets to challenge participants as they move through different sections.
- Use visuals and animations to make the map more appealing and engaging.
- Create checkpoints where students must answer specific types of questions before advancing.
Troubleshooting Tips for Hosts
- If players encounter issues with the Gimkit code login, make sure they’re using the correct credentials and have access to a stable internet connection.
- Double-check the Gimkit code to ensure everyone is using the correct one to join your session.
Conclusion
Hosting and setting up a map in Gimkit Creative is an excellent way to take learning to the next level. From creating custom maps to engaging your audience with interactive questions, Gimkit helps make education fun and effective. Just remember to share the correct Gimkit join code, and you’ll be on your way to hosting a successful session in no time! By following these steps and tips, you’ll be well on your way to mastering Gimkit Creative for your classroom or study group.
Also read: Scam or Real: All About The //Vital-Mag.net Blog in Detail | How to Earn Using The //vital-mag.net Blog: 6 Proven Strategies!